Montessori Three Part Cards
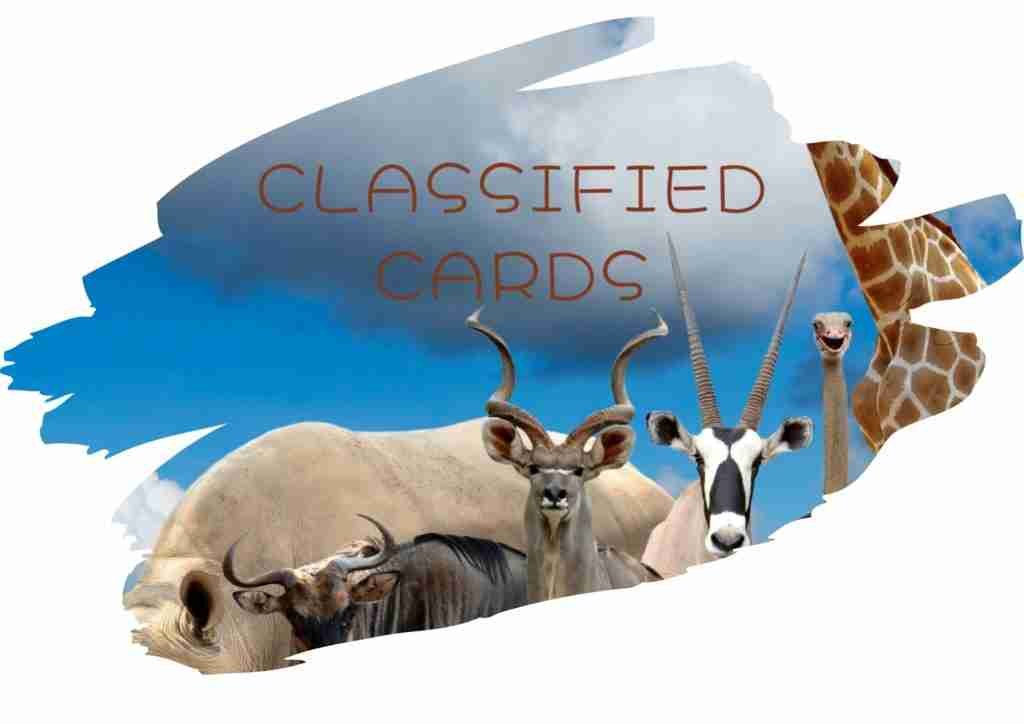
Montessori three part cards, or classified cards, are a great way to enrich your child’s vocabulary and help them classify various aspects of the world around them. They are normally best for children from 3 to 6 but you can also use them to introduce advanced vocabulary for older children. As always, follow your child’s interests when choosing the subject. If you notice your child has a special interest in a specific animal, you can explore that by showing them the different breeds, differences between male and female, the mother and babies, and so on!
Your Montessori three part cards include:
- The Picture Card
- The Label
- The Control Card (Picture and Label together)
How does it work?
When presenting the Classified Cards for the first time, we recommend that you start with a small selection. If your child is not reading yet, start with the Picture Cards only.
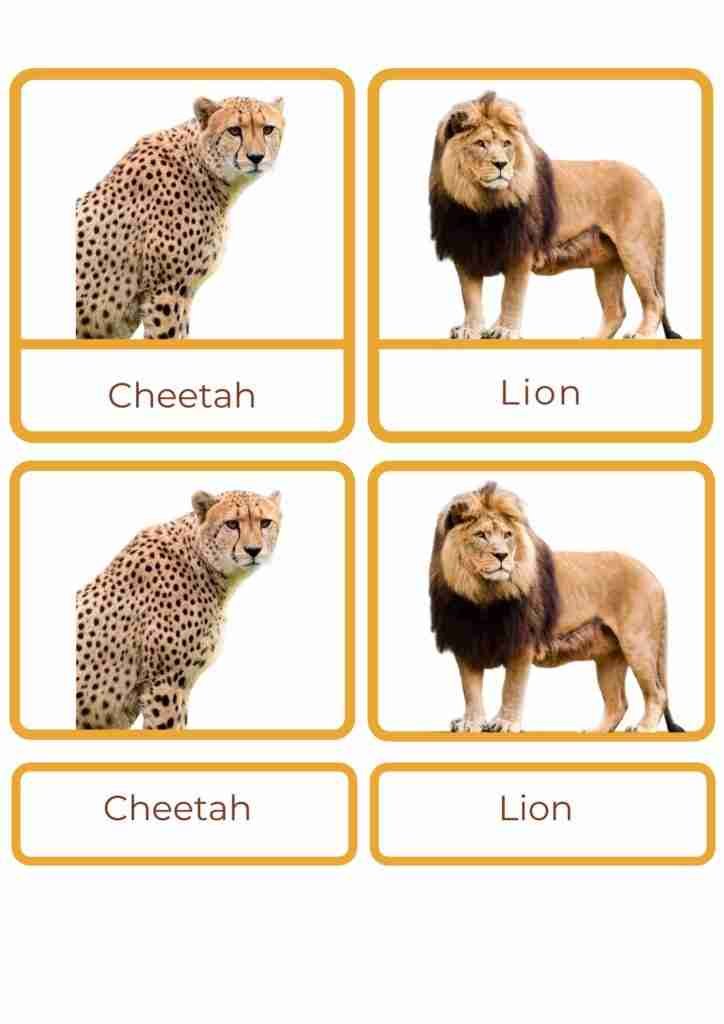
Once you’ve selected your cards, place the pile in front of the child, face down. Turn the top card over and see if your child knows what it’s called. If they do, place it face up in a row or column on your chosen work space. If they are not sure, you can tell them what it is, place the card next to the others and move on to the next card.
Once all the cards are laid out, go back to the unknown cards (pick up to 3) and give some simple directions like: “can you point to the zebra?, can you show me the lion?, where is the turtle?”…
When they can identify the cards consistently, you can move on to pointing to one at a time and ask them: “what is this?”. Finally, you can mix them all up and ask your child to lay them out themselves naming each one as they do it!
Don’t forget to use this as an opportunity to have a conversation about what you are seeing. Give them details and fun facts about them and let their curiosity take it from there!
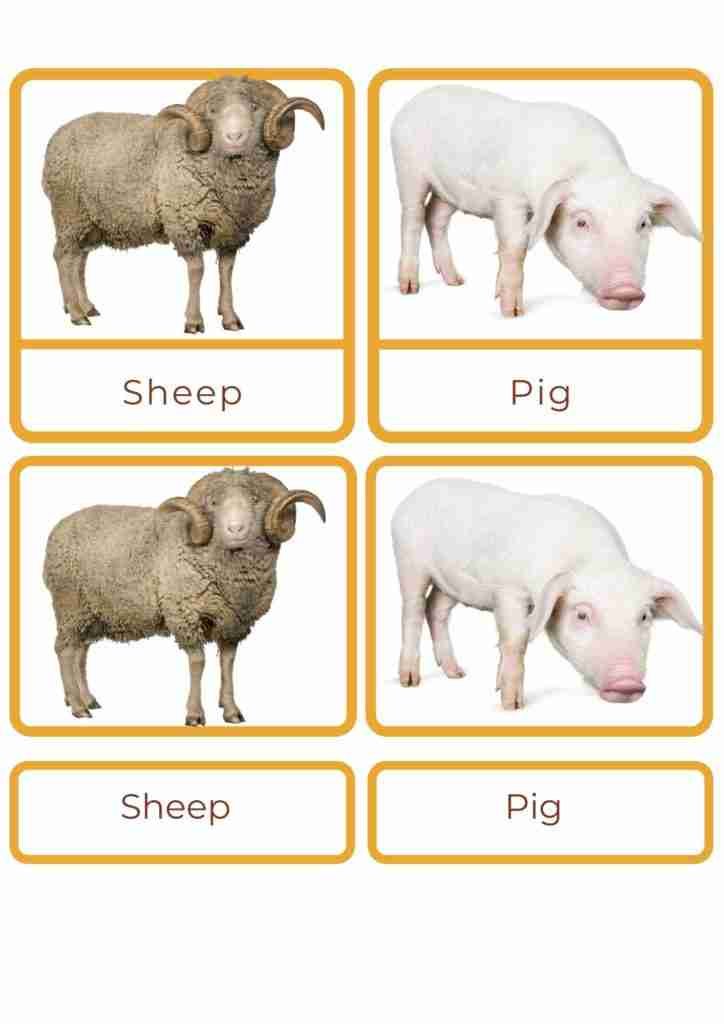
If your child has started to read, you can use all the Cards. Select a few Picture Cards and place them one by one in a row or column, checking as you go that your child knows the name of the pictures.
Now get the labels and give them to your child. You can help them read them if they need it. Ask them to place the label under the relevant picture. Once they are done, give them the Control Cards and invite them to place them next to the matching Cards and Labels. With all the cards side by side, encourage them to check if they match and move the labels if necessary. Mix them all up and do it again!
What’s next?
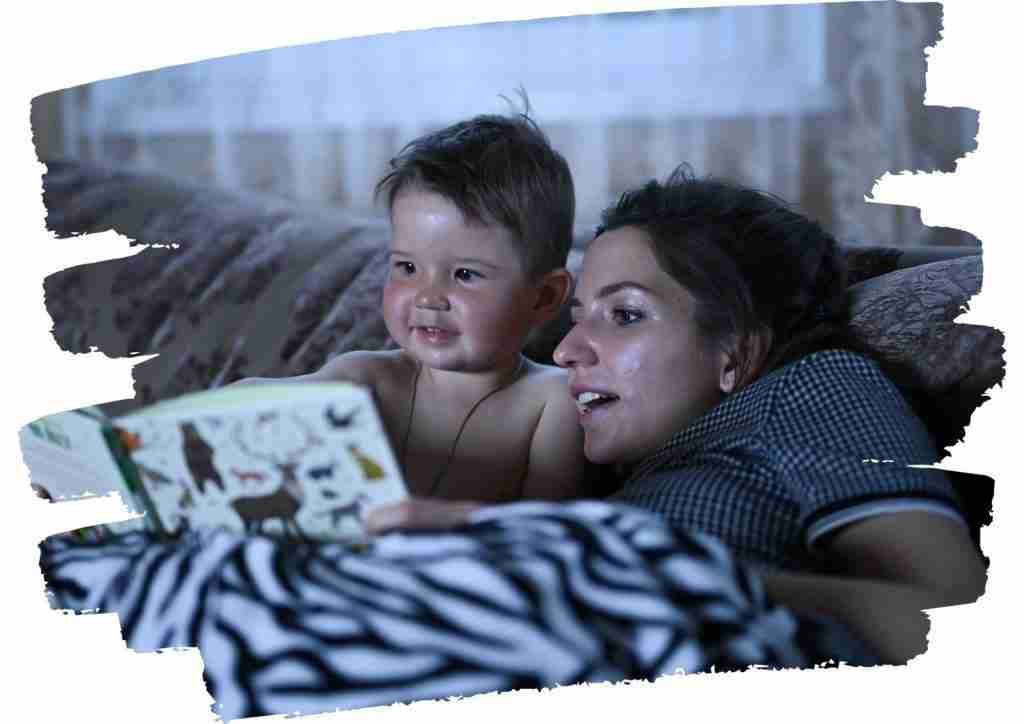
Once you’ve done this together a few times, they can start doing it on their own (they can always ask for help if they are having trouble reading a Label!). Put a few sets on a low shelf that they can access easily. Follow the child – observe and identify specific interests the Cards might spark and explore those by adding new sets of Cards, reading books, searching online and having conversations to answer all their newly found questions!
Other ways to use your classified cards!
Matching Activities
Another great way to use Classified Cards is to match the pictures in the cards to real objects. In this case, you would use a selection of animal figures and match them to the Picture cards. Choose a few Picture cards and put them in a tray along with a set of animal figures so they can match the card to the animal. Try to get animal figures that are realistic so they look as similar as possible to the cards.
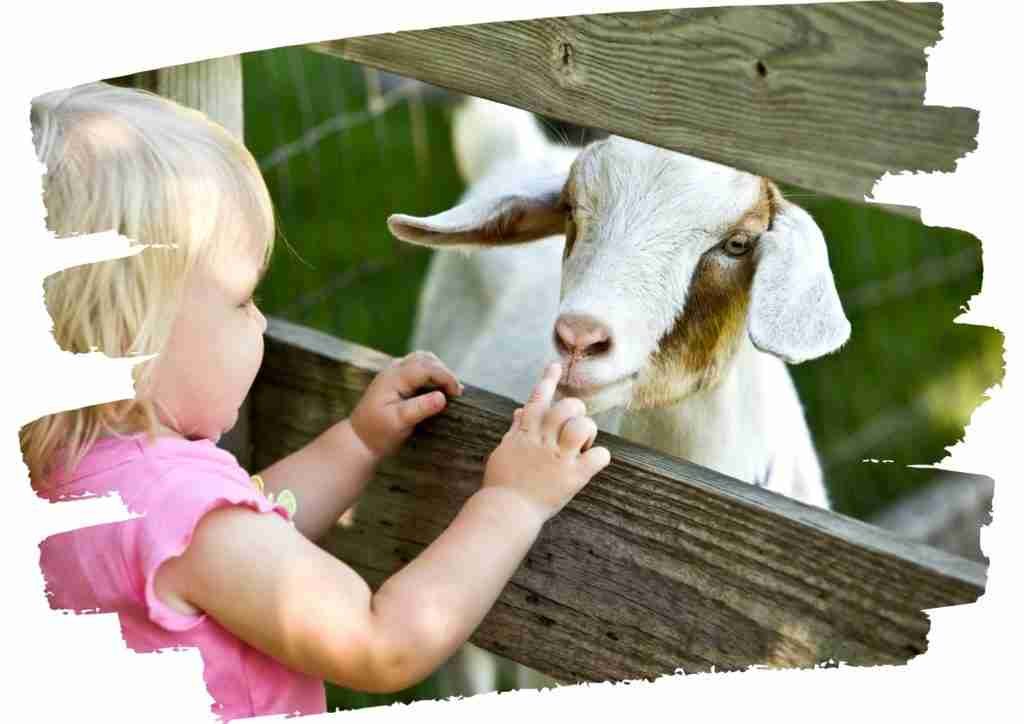
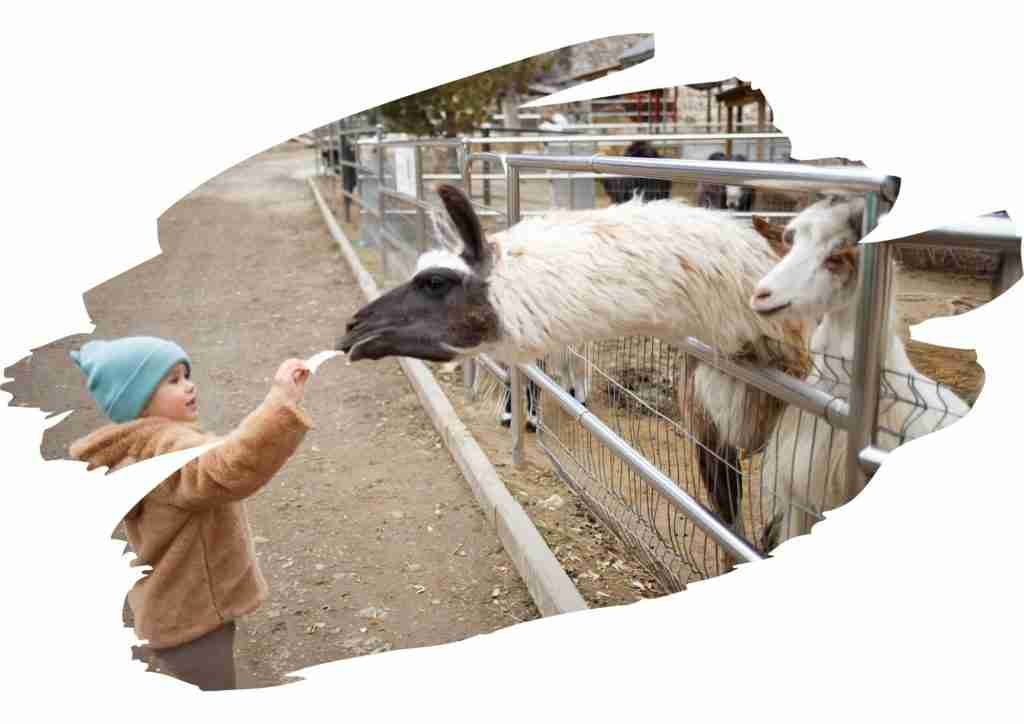
Again, follow the child and do this activity based on the Classified Cards they show more interest in. Why not take the learning outside? Select a few Picture cards and go on an adventure to find the items / animals in the cards. In this case, select a few of the cards and plan a visit to a zoo / animal farm and have fun finding all the animals you selected. Plan ahead and try to select the cards based on the place you are visiting so that you can find them all.
If you like exploring Nature with your little one, try our BirdSpy, Treespy and BugSpy booklets!
Let’s Get Started!
Remember to only print out the cards you’re planning to use!
Very often these cards are backed with cardboard or laminated, depending on how much use they’re going to have or how many children will work with them.
If you have only one child, laminating the cards probably won’t be worth it. Just print them onto thin card or glue them onto a bit of cardboard.
If you have more than one child, or you think they’ll get plenty of use, then laminating will make them last a lot longer.
Oh, and as always, don’t forget to share with us how you used the materials! We love to see you enjoying them!
Want to know more about Montessori and our journey? Then visit our blog! If you enjoy it and want to keep getting updates, you can subscribe below! You’ll receive 6 amazing FREE resources during the course of 6 days.
Feel free to follow us on Facebook and ask us any questions via Facebook Messenger or through our site. Click here to ask us a question via Facebook Messenger or here to contact us through our site. (we will reply to you :))
